How to Prevent Anilox Roll Scoring
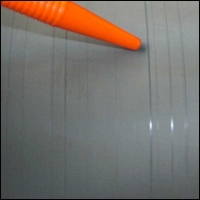
Christine Duggan2024-03-20T09:03:12-04:00Anilox roll scoring poses a challenge for many printers, evident when a shiny line encircles the roll, indicating a groove or “scoring” of the anilox roll. [...]
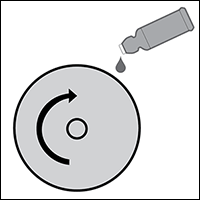
Anilox roll scoring poses a challenge for many printers, evident when a shiny line encircles the roll, indicating a groove or “scoring” of the anilox roll. [...]
In today’s competitive marketplace, manufacturers are looking for ways to improve efficiency and wring costs out of the production process. By adopting lean manufacturing concepts, companies can [...]
We’ve learned a lot from the automakers when it comes to manufacturing efficiency. Our car-making forefathers took a long look at their production methods and figured out [...]
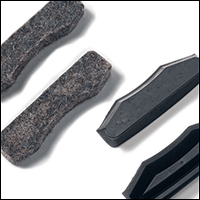
If you are using steel doctor blades, you are probably well aware of the risk of serious cuts from handling the blades. Pressroom injuries can be [...]
Kevin McLaughlin April was a highlight of our corrugated marketing efforts in the Far East as Flexo Concepts® supported its Asian distributors at SinoCorrugated 2015. Taking place every two [...]
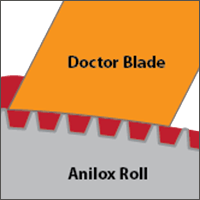
You spend a lot of time selecting the correct anilox roll for a job. Careful consideration goes into line screen, cell geometry and cell volume in order [...]
Switching to polyester containment blades from steel can offer several benefits for printers. Here are the top 5 reasons to make the switch: 1. Elimination of [...]
As a consumables manufacturer introducing new doctor blade technology to a mature industry, we're constantly hearing, “But I’ve done it this way forever.” Press men are busy [...]
In an enclosed doctor blade chamber system, the job of the end seals is to keep the coating or ink from leaking out of the ends of the [...]
The flexographic ink delivery process has come a long way since the days when "Fragile - Do Not Drop" and "This End Up" were the only [...]
Testing a new doctor blade in your printing operation should be a collaboration with your suppler that boosts performance while avoiding costly guesswork. Instead of randomly [...]
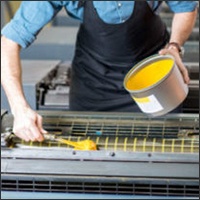
The goal of a sheetfed offset printer, like every printer, is to produce printed pieces efficiently and economically. In sheetfed offset coating applications, selecting the right doctor blade will [...]
Carbon fiber chamber system by Celmacch The job of a doctor blade chamber is to help deliver a precise, consistent ink film thickness to the [...]
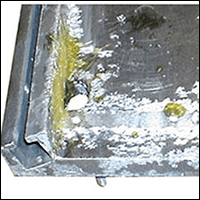
Doctor blade chamber leaks are costly in terms of downtime and waste. While failed end seals are responsible for a large number of chamber leaks, ill-fitting doctor blades [...]
As competition for shelf space heats up, brand owners are looking to create more compelling-looking products. That means prettier graphics, more vivid colors and unique packaging. [...]
While steel doctor blades used to be the only option to produce high-end graphics, a printer had to deal with the shorter blade life and pressroom injuries [...]