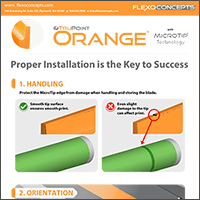
Handling, Orientation and Pressure: Installing TruPoint Orange Properly Is the Key to Success
Christine Duggan2022-12-08T11:08:07-05:00The TruPoint Orange doctor blade can successfully eliminate UV ink spitting and start-up lines, reduce the frequency of blade changes and offer a safe alternative to [...]