 Proper alignment of your doctor blades(s) to the anilox roll (or any roll being wiped or cleaned) is critical to the performance of any ink or coating metering system. This alignment plays a pivotal role in preventing premature doctor blade and anilox roll wear, reducing leaks, and minimizing downtime. Let’s dive into the key aspects of blade alignment to optimize the performance of your process.
Doctor Blade Functionality
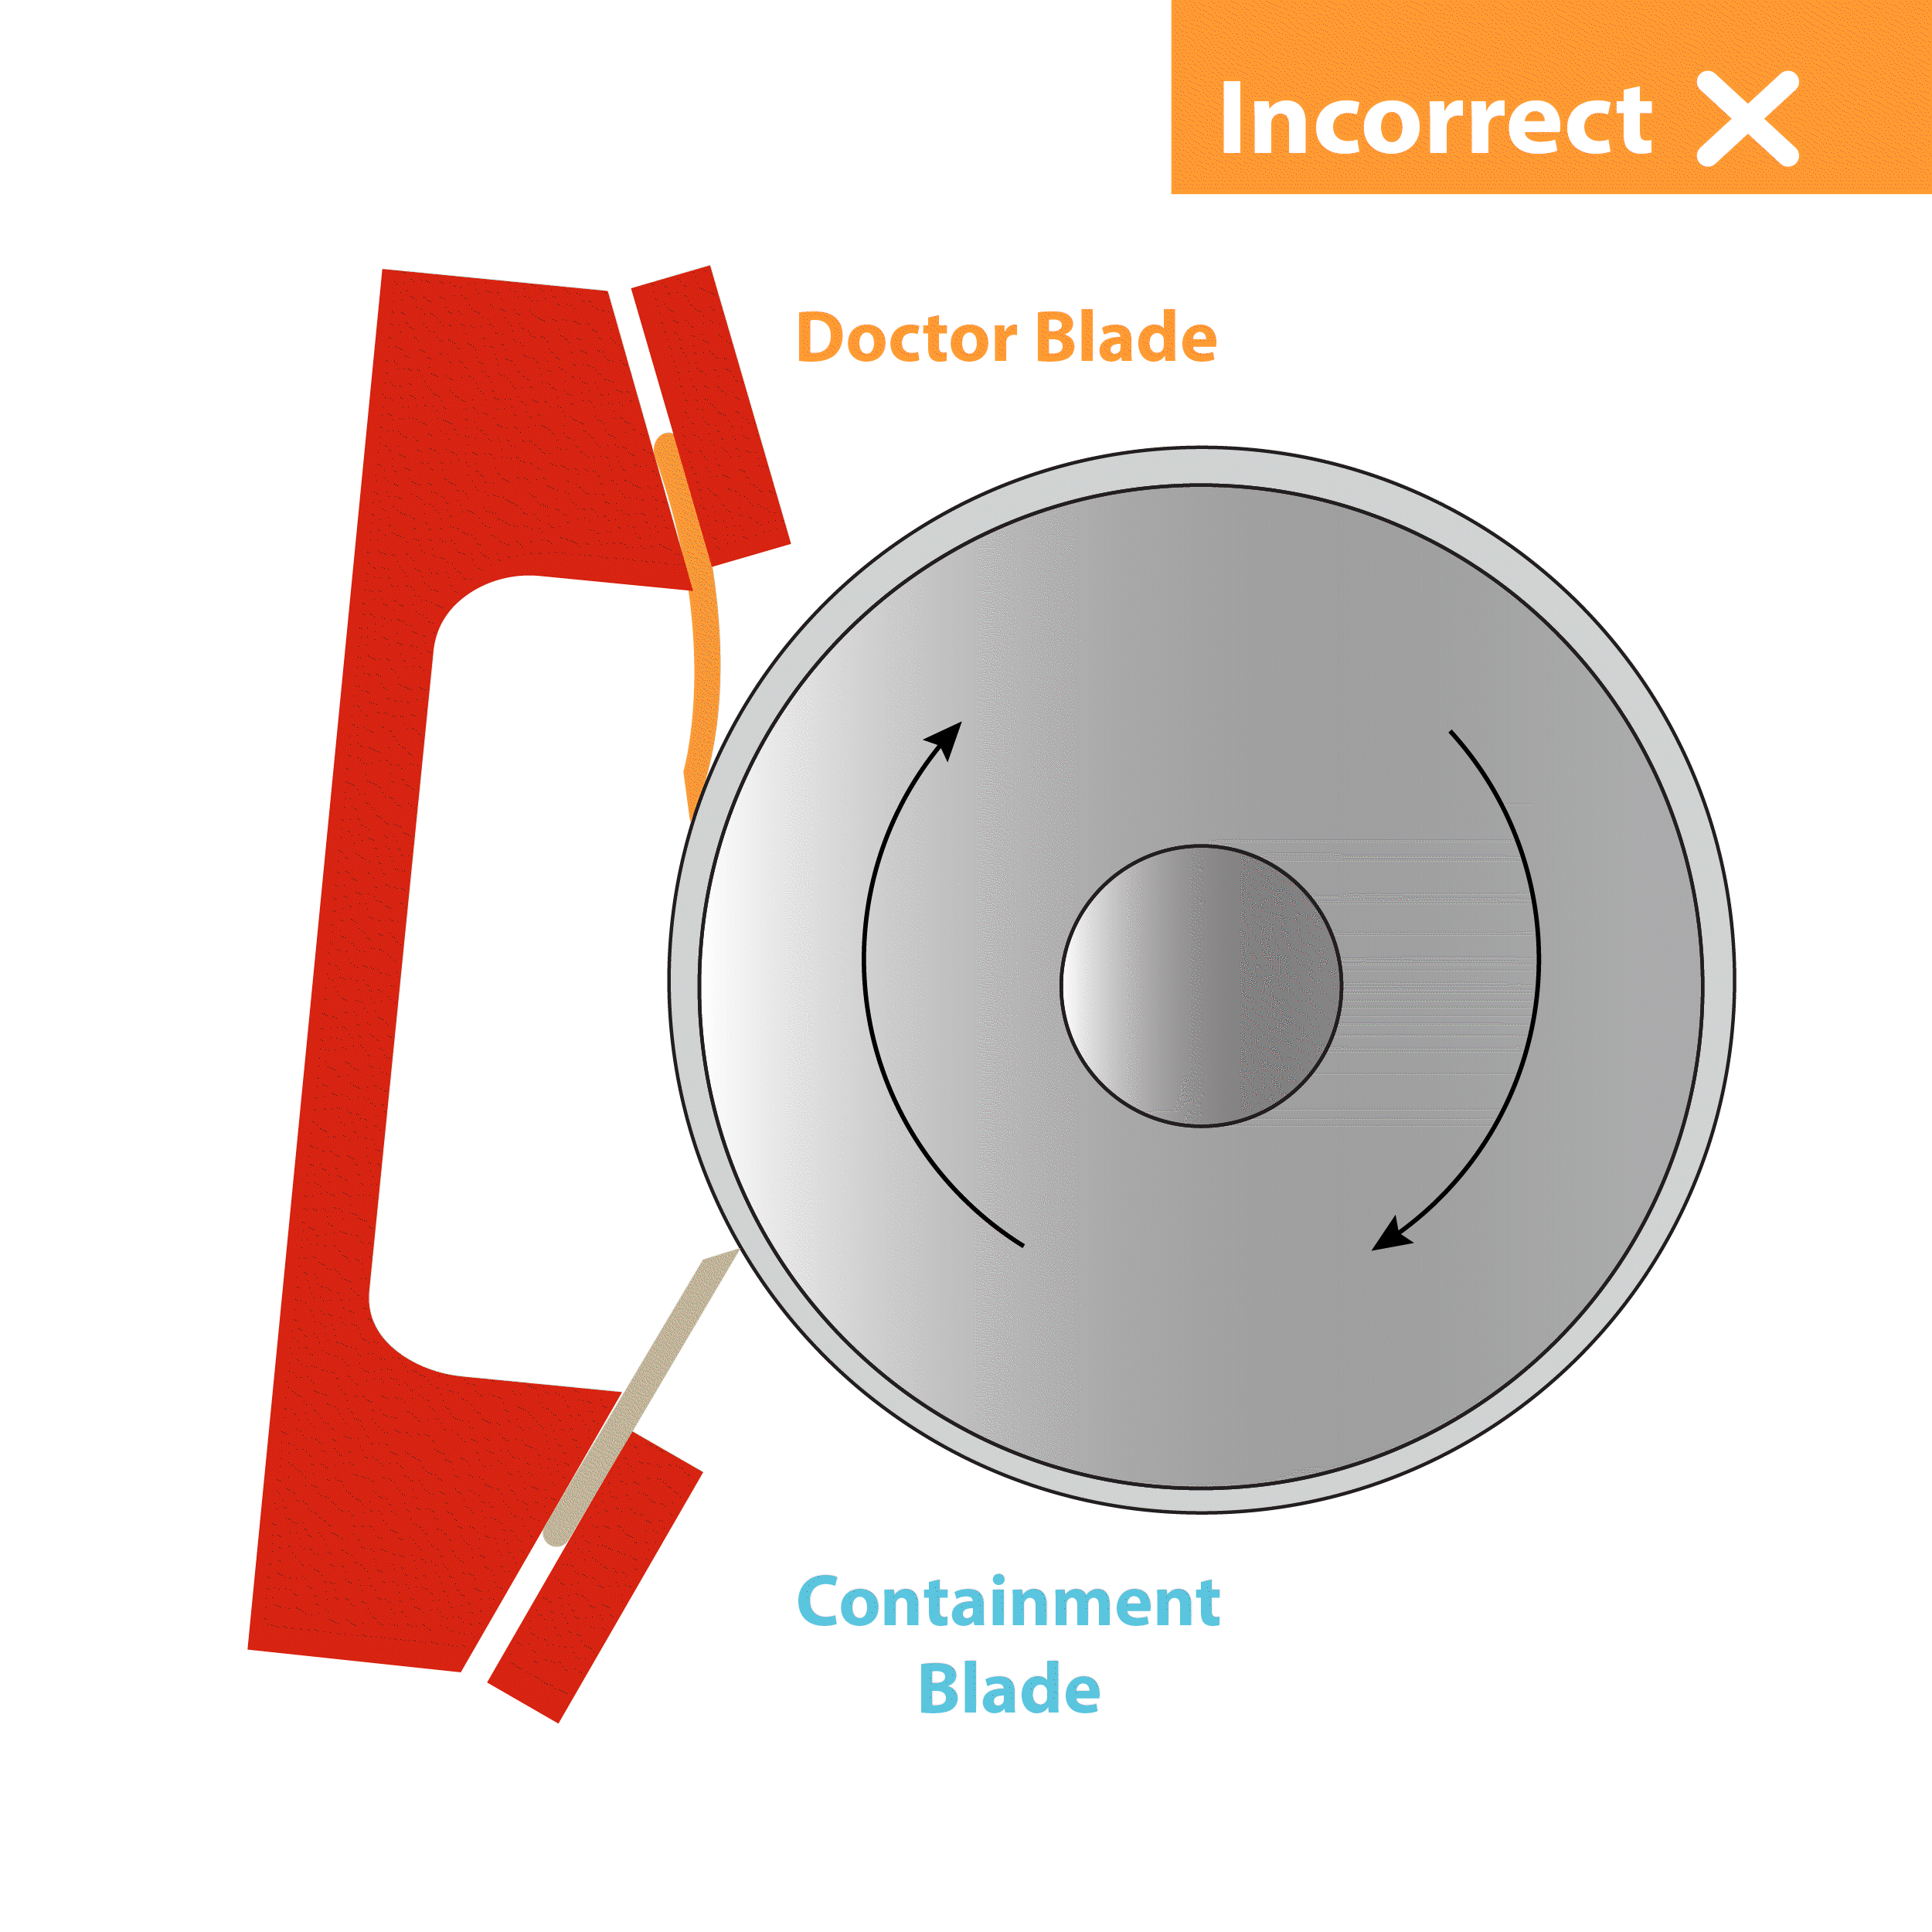
Doctor blades are designed to remove excess ink from the surface of the anilox roll. To achieve this, it’s imperative to maintain consistent, light contact between the doctor blade and the anilox roll along its entire face. Variation from this ideal contact can lead to problems including inconsistent transfer of ink or coating to the substrate and premature anilox roll wear.
Causes of Incorrect Contact
Several factors contribute to inconsistent contact between the doctor blade and the anilox roll:
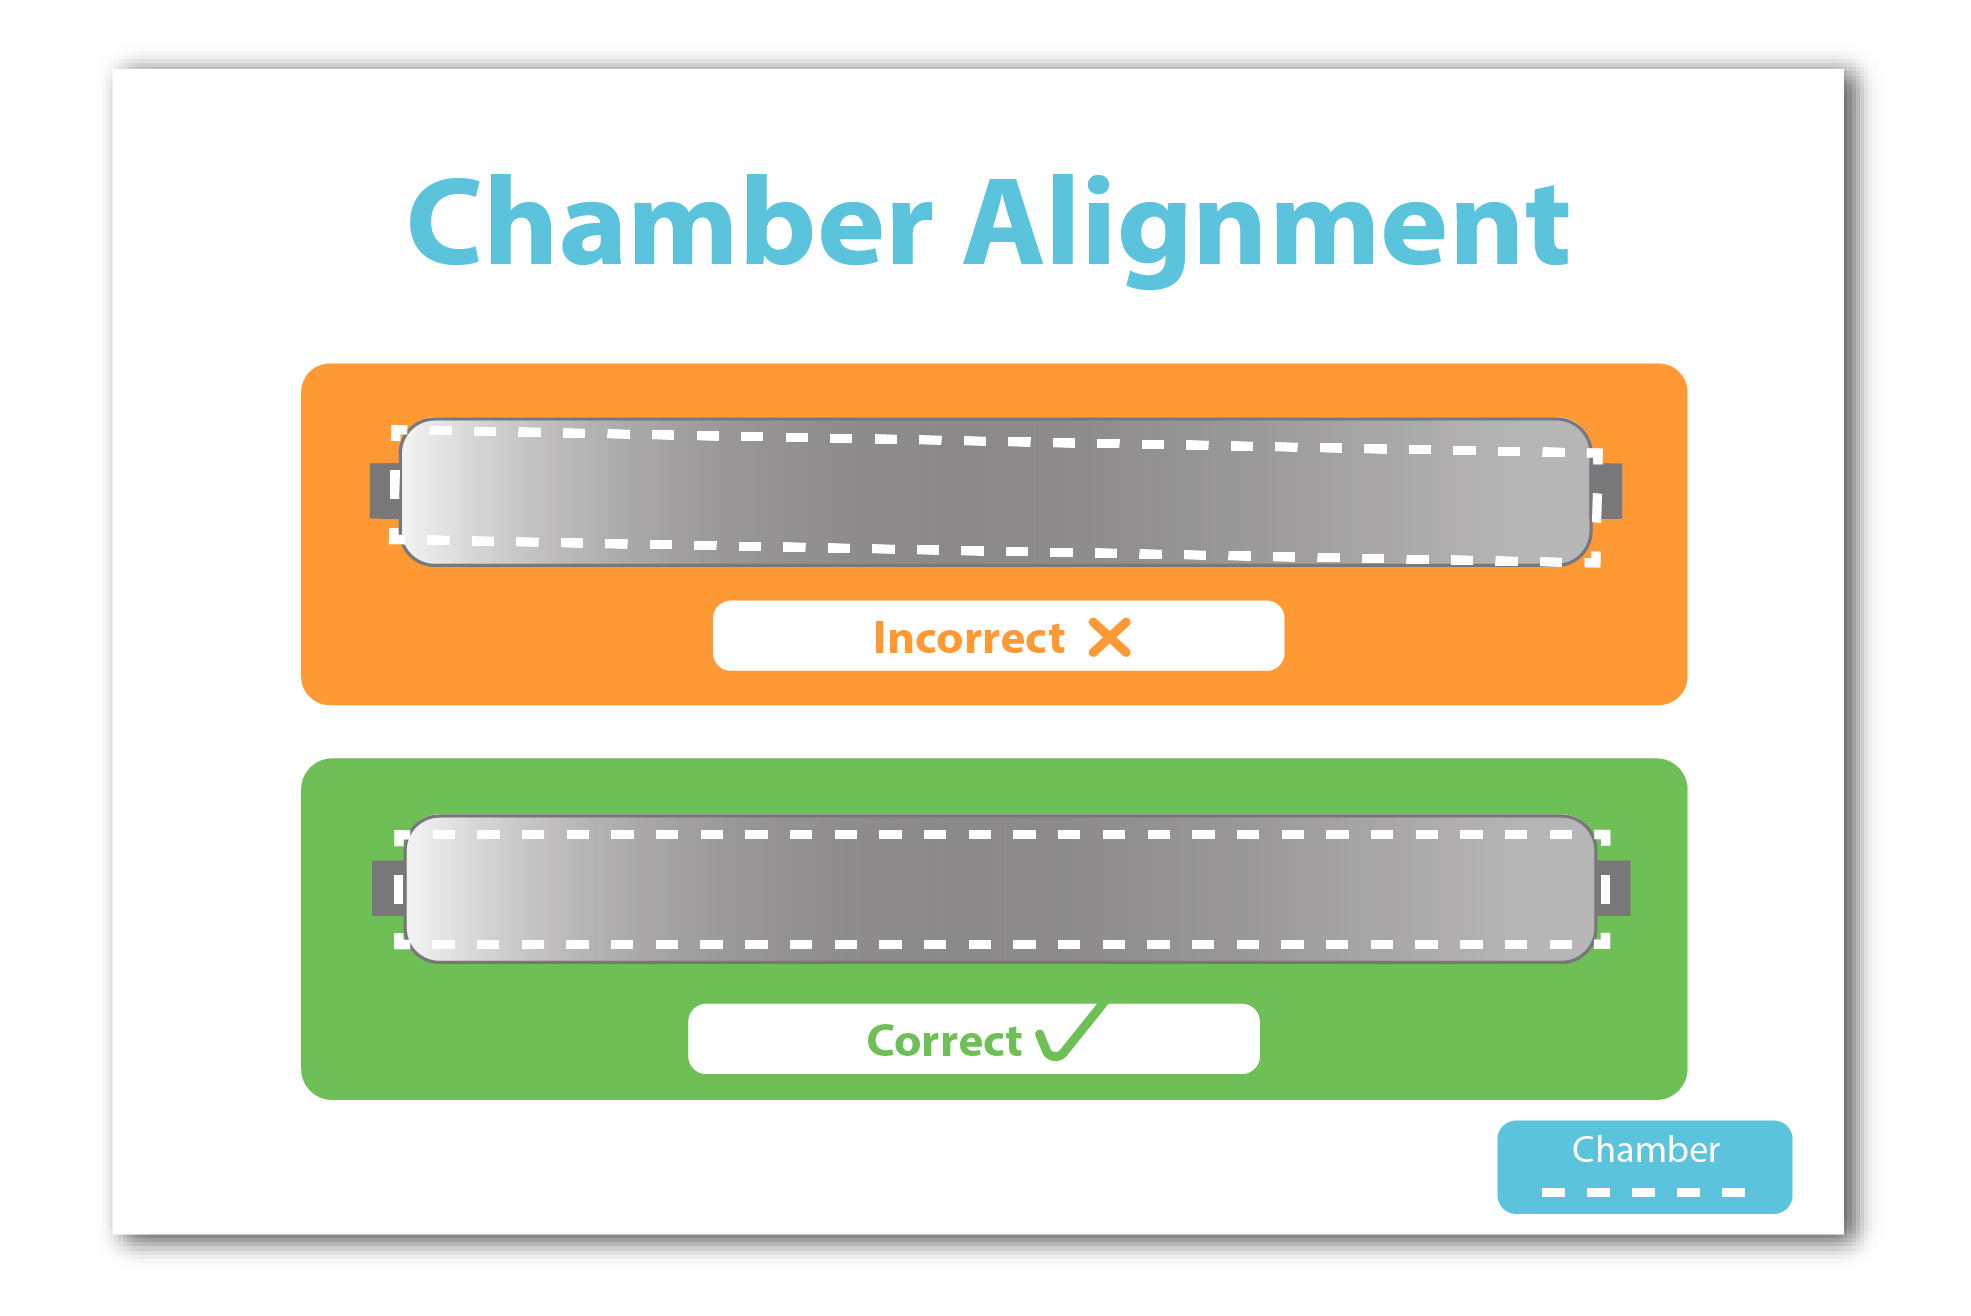
- Blade / Blade Holder Alignment: Ensure the blade is not skewed, offset, or misaligned with the centerline of the anilox roll.
- Poor Blade Installation: Properly seat the blade in the holder and avoid overtightening to eliminate ripples or buckling of the blade.
- Inconsistent Pressure: Maintain even pressure across the blade holder to prevent variations in blade contact.
Consequences of Incorrect Alignment
Deviation from proper alignment often shows up as uneven ink or coating thickness. Frequently operators try to overcome this problem by increasing blade pressure to compensate for the underlying issue.
This quick fix may temporarily address ink or coating problems but will eventually cause accelerated wear of both the doctor blade and anilox roll. Accelerated blade wear means more frequent blade changes and increased downtime. Accelerated wear of the anilox roll can lead to uneven or inconsistent ink or coating density.
How to Check Doctor Blade Alignment
- Start with a clean blade doctor blade chamber (dual blade) or doctor blade holder (single blade) and make sure blades are installed firmly against stops, with no buckling.
- Slowly engage the blades against the anilox roll, and verify the blade-to-anilox contact occurs simultaneously across the blade face.
- For dual-blade systems, there are (4) checkpoints; top and bottom blades at both ends of the doctor blade chamber.
- For single-blade systems, there are (2) checkpoints at the left and right ends of the blade holder.
- The goal is to make sure all checkpoints contact the anilox or coating roll at the same time.
- Adjust if necessary to achieve uniform simultaneous contact.
Pro tips: When aligning a doctor blade chamber (dual blade), remove end seals to create an unobstructed view of blade and anilox contact.
A feeler gauge (or business card!) is a great tool to help compare blade to anilox pressure.
Maintaining proper doctor blade to roller alignment is fundamental to optimizing your ink or coating metering system. Avoid the temptation to increase blade pressure to overcome misalignment as this can lead to shortened blade life and accelerated anilox roll wear.
By investing a few minutes in checking your setup, you’ll reap long-term benefits in terms of time, cost savings, and reduced waste. Remember, a well-aligned chamber ensures your doctor blade performs at its best, delivering exceptional results.
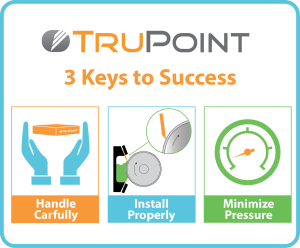
For detailed instructions on doctor blade installation and visual guides, download our 3 Keys to Success Infographic.